
Samsung Galaxy A52 5G


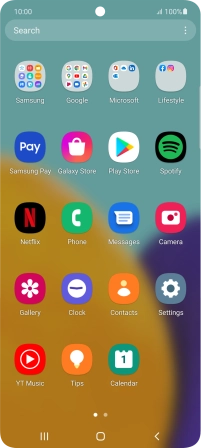
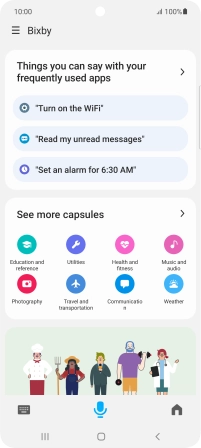
1. Find "Bixby"
Slide your finger upwards on the screen.


1. Find "Bixby"
Press Samsung.


1. Find "Bixby"
Press Bixby.


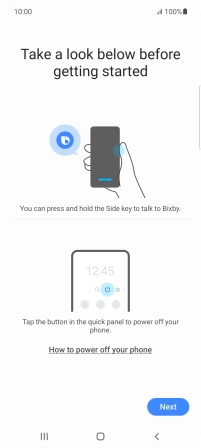
2. Log on to your Samsung account
Press Next.


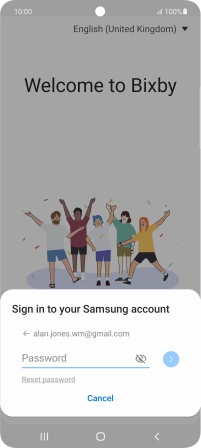
2. Log on to your Samsung account
Press Sign in.


2. Log on to your Samsung account
If you don't have a Samsung account, press Create account and follow the instructions on the screen to create an account.
2. Log on to your Samsung account
Press Email or phone number and key in the username for your Samsung account.


2. Log on to your Samsung account
Press arrow right.


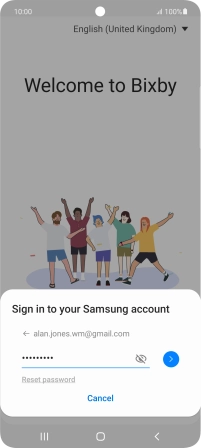
2. Log on to your Samsung account
Press Password and key in the password for your Samsung account.


2. Log on to your Samsung account
Press arrow right.


2. Log on to your Samsung account
Press Continue.


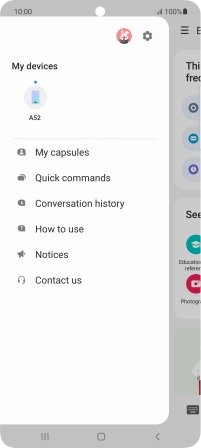
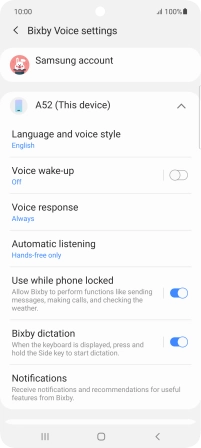
3. Select Bixby settings
Slide your finger right starting from the left side of the screen.


3. Select Bixby settings
Press the settings icon.


3. Select Bixby settings
Follow the instructions on the screen to select the required settings.
4. Return to the home screen
Press the Home key to return to the home screen.
1. Find "Bixby"


2. Log on to your Samsung account


3. Select Bixby settings
4. Return to the home screen