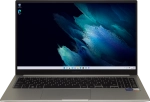
Samsung Galaxy Book

Samsung Galaxy Book

Windows 11

Start using your Samsung Galaxy Book Windows 11

Read help info

Before you start using your laptop, you need to follow these initial steps.

Step 1 of 49

1. Insert SIM

Find an opener for the card holder. Insert the opener into the small hole in the card holder.

Please note that your laptop only supports nano SIMs.
Step 2 of 49

1. Insert SIM

Remove the card holder from your laptop.

Please note that your laptop only supports nano SIMs.
Step 3 of 49

1. Insert SIM

Turn your SIM as illustrated next to the SIM holder and place it in the SIM holder.

Please note that your laptop only supports nano SIMs.
Step 4 of 49

1. Insert SIM

Slide the card holder into your laptop.

Please note that your laptop only supports nano SIMs.
Step 5 of 49

2. Turn on your laptop

Connect the power supply to the power plug and to a wall socket.

Step 6 of 49

2. Turn on your laptop

When the charger is correctly connected, the LED will light up.

Step 7 of 49

2. Turn on your laptop

Press and hold On/Off until your laptop is turned on.

Step 8 of 49

3. Select general settings

Click the required language.

Step 9 of 49

3. Select general settings

Click Yes.

Step 10 of 49

3. Select general settings

Click the required country or area.

Step 11 of 49

3. Select general settings

Click Yes.

Step 12 of 49

3. Select general settings

Click the required keyboard layout.

Step 13 of 49

3. Select general settings

Click Yes.

Step 14 of 49

3. Select general settings

Follow the instructions on the screen.to add more keyboard layouts or click Skip.

Step 15 of 49

4. Establish a connection to the internet

Click Mobile.

Step 16 of 49

4. Establish a connection to the internet

If your SIM is locked, click Unlock SIM.

Step 17 of 49

4. Establish a connection to the internet

Key in your PIN and click Next.

If an incorrect PIN is entered three times in a row, your SIM will be blocked. To unblock your SIM, you'll need to key in your PUK. You can get the PUK by calling customer services on 191 from a Vodafone mobile phone. If you're using a land line, you need to dial 03333 040 191. Please note: If you key in the wrong PUK ten times in a row, your SIM will be blocked permanently. In this case, you need a new SIM from Vodafone.
Step 18 of 49

4. Establish a connection to the internet

Click Next.

Step 19 of 49

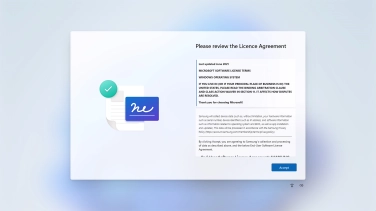
5. Accept general terms and conditions

Click Accept.

Step 20 of 49

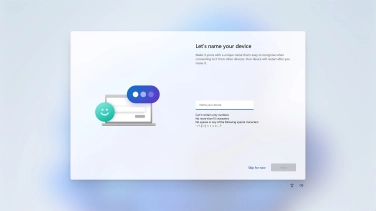
6. Name your laptop

Follow the instructions on the screen to name your laptop or click Skip for now.

Step 21 of 49

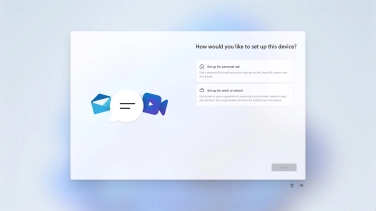
7. Select setup method

Click Set up for personal use.

Step 22 of 49

7. Select setup method

Click Next.

Step 23 of 49

8. Activate Microsoft account

If you don't have a Microsoft account, click Create one! and follow the instructions on the screen to create a Microsoft account.

Step 24 of 49

8. Activate Microsoft account

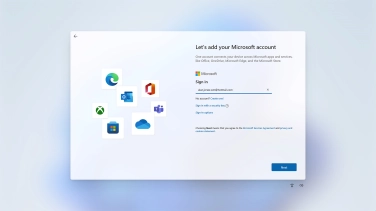
Key in the username for your Microsoft account and click Next.

Step 25 of 49

8. Activate Microsoft account

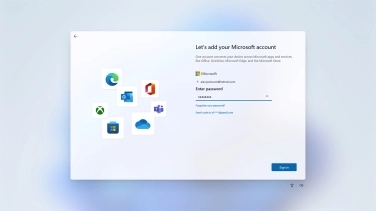
Key in the password for your Microsoft account and click Sign in.

Step 26 of 49

9. Add fingerprint for unlocking your laptop

Follow the instructions on the screen to add a fingerprint for unlocking your laptop or click Skip for now.

Step 27 of 49

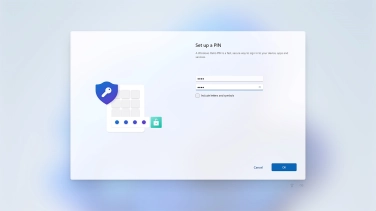
10. Create PIN for unlocking your laptop

Click Create PIN.

Step 28 of 49

10. Create PIN for unlocking your laptop

Click New PIN and key in the required PIN.

Step 29 of 49

10. Create PIN for unlocking your laptop

Click Confirm PIN and key in the required PIN again.

Step 30 of 49

10. Create PIN for unlocking your laptop

Click OK.

Step 31 of 49

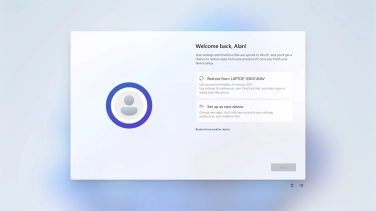
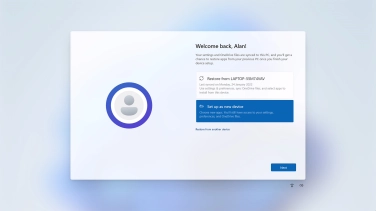
11. Set up your laptop as a new laptop

Click Set up as new device.

If you have previously saved content, you can follow the instructions on the screen instead.to restore it.
Step 32 of 49

11. Set up your laptop as a new laptop

Click Next.

Step 33 of 49

12. Choose setting for location sharing

Click the required setting.

Step 34 of 49

12. Choose setting for location sharing

Click Accept.

Step 35 of 49

13. Choose setting for Find My Device

Click the required setting.

Step 36 of 49

13. Choose setting for Find My Device

Click Accept.

Step 37 of 49

14. Choose settings for sharing of personal data

Click the required setting.

Step 38 of 49

14. Choose settings for sharing of personal data

Click Accept.

Step 39 of 49

14. Choose settings for sharing of personal data

Click the required setting.

Step 40 of 49

14. Choose settings for sharing of personal data

Click Accept.

Step 41 of 49

14. Choose settings for sharing of personal data

Click the required setting.

Step 42 of 49

14. Choose settings for sharing of personal data

Click Accept.

Step 43 of 49

14. Choose settings for sharing of personal data

Click the required setting.

Step 44 of 49

14. Choose settings for sharing of personal data

Click Accept.

Step 45 of 49

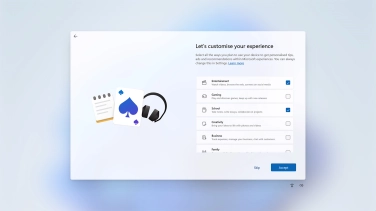
15. Choose the primary use of your laptop

Click the fields next to the required categories to receive customised tips and suggestions.

Step 46 of 49

15. Choose the primary use of your laptop

Click Accept.

Step 47 of 49

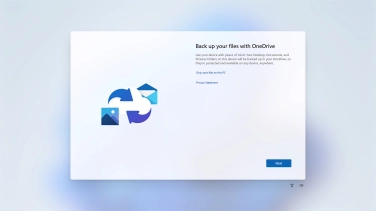
16. Choose settings for backing up files

Follow the instructions on the screen if you don't want to back up your files to OneDrive or click Next.

Step 48 of 49

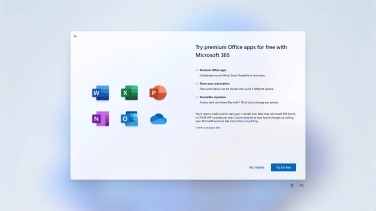
17. Choose setting for use of Microsoft Office apps

Follow the instructions on the screen to subscribe to Microsoft Office or click No, thanks.

Step 49 of 49

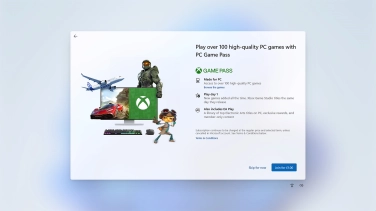
18. Choose setting for use of PC Game Pass

Follow the instructions on the screen to subscribe to PC Game Pass or click Skip for now to finish setting up your laptop.

1. Insert SIM

Find an opener for the card holder. Insert the opener into the small hole in the card holder.
Please note that your laptop only supports nano SIMs.
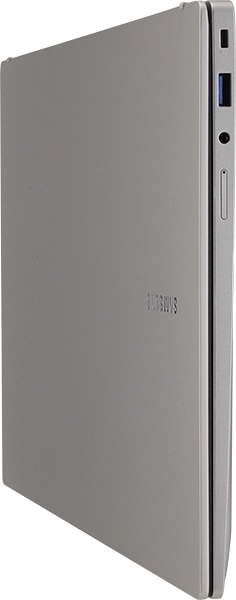
Remove the card holder from your laptop.
Please note that your laptop only supports nano SIMs.
Turn your SIM as illustrated next to the SIM holder and place it in the SIM holder.
Please note that your laptop only supports nano SIMs.
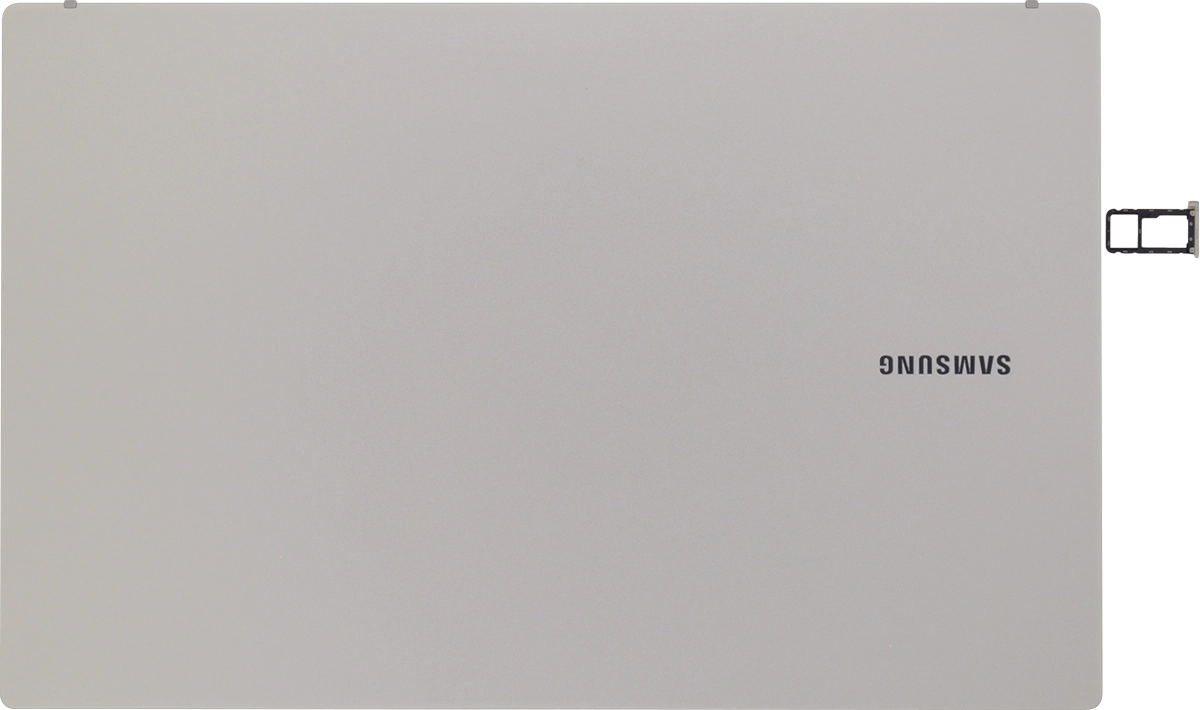
Slide the card holder into your laptop.
Please note that your laptop only supports nano SIMs.

2. Turn on your laptop

Connect the power supply to the power plug and to a wall socket.
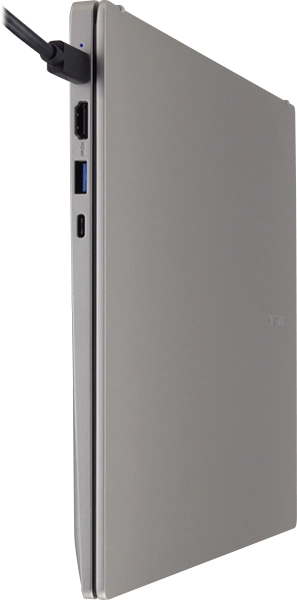
When the charger is correctly connected, the LED will light up.
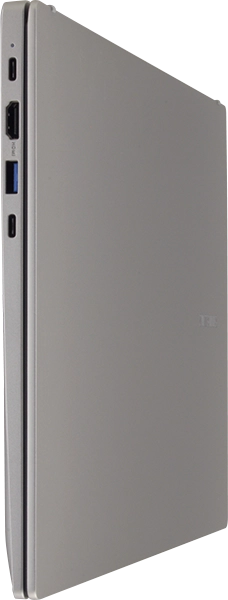
Press and hold On/Off until your laptop is turned on.

3. Select general settings

Click the required language.
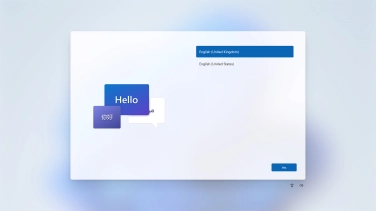
Click Yes.
Click the required country or area.
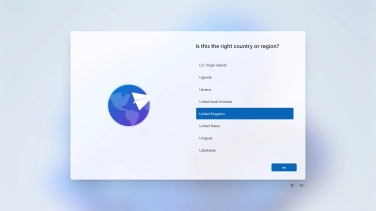
Click Yes.
Click the required keyboard layout.
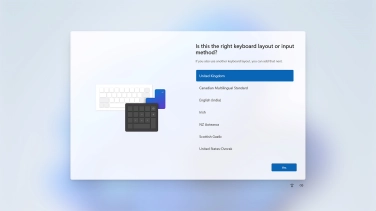
Click Yes.
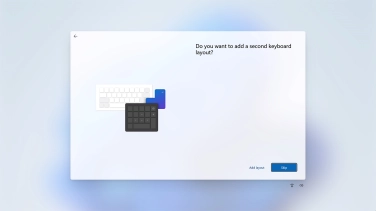
Follow the instructions on the screen.to add more keyboard layouts or click Skip.
4. Establish a connection to the internet

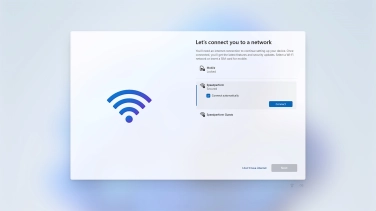
Click Mobile.
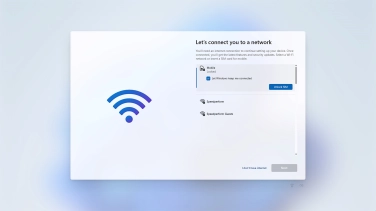
If your SIM is locked, click Unlock SIM.
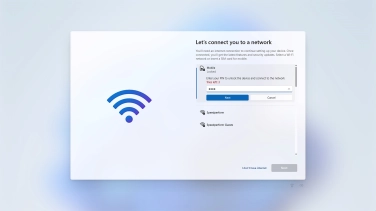
Key in your PIN and click Next.
If an incorrect PIN is entered three times in a row, your SIM will be blocked. To unblock your SIM, you'll need to key in your PUK. You can get the PUK by calling customer services on 191 from a Vodafone mobile phone. If you're using a land line, you need to dial 03333 040 191. Please note: If you key in the wrong PUK ten times in a row, your SIM will be blocked permanently. In this case, you need a new SIM from Vodafone.
Click Next.
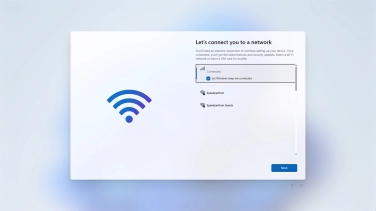
5. Accept general terms and conditions

Click Accept.
6. Name your laptop

Follow the instructions on the screen to name your laptop or click Skip for now.
7. Select setup method

Click Set up for personal use.
Click Next.
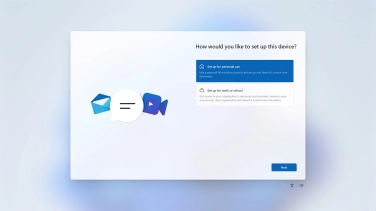
8. Activate Microsoft account

If you don't have a Microsoft account, click Create one! and follow the instructions on the screen to create a Microsoft account.
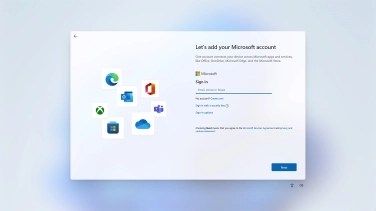
Key in the username for your Microsoft account and click Next.
Key in the password for your Microsoft account and click Sign in.
9. Add fingerprint for unlocking your laptop

Follow the instructions on the screen to add a fingerprint for unlocking your laptop or click Skip for now.
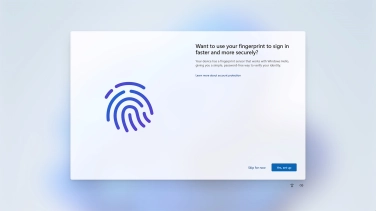
10. Create PIN for unlocking your laptop

Click Create PIN.
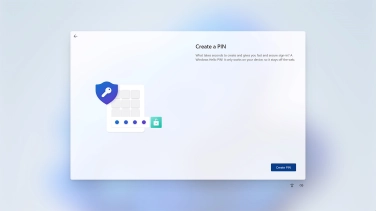
Click New PIN and key in the required PIN.
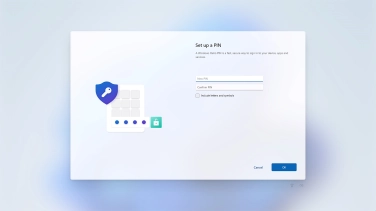
Click Confirm PIN and key in the required PIN again.
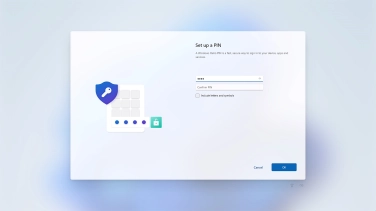
Click OK.
11. Set up your laptop as a new laptop

Click Set up as new device.
If you have previously saved content, you can follow the instructions on the screen instead.to restore it.
Click Next.
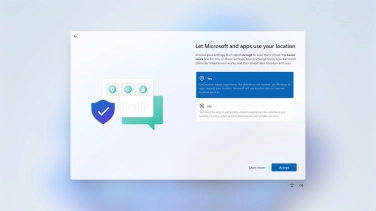
12. Choose setting for location sharing

Click the required setting.
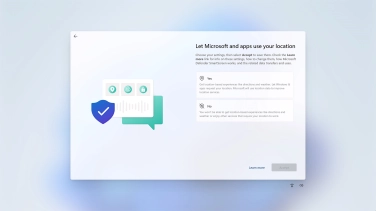
Click Accept.
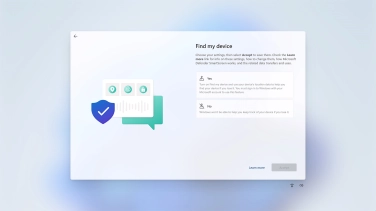
13. Choose setting for Find My Device

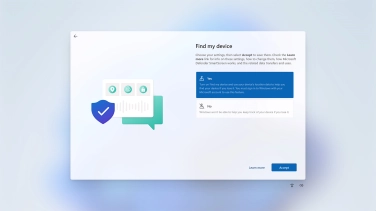
Click the required setting.
Click Accept.
14. Choose settings for sharing of personal data

Click the required setting.
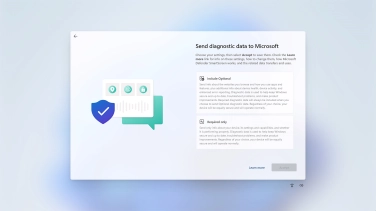
Click Accept.
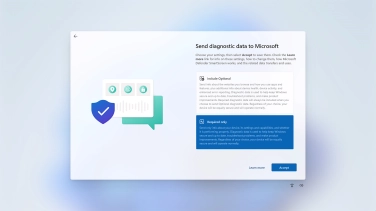
Click the required setting.
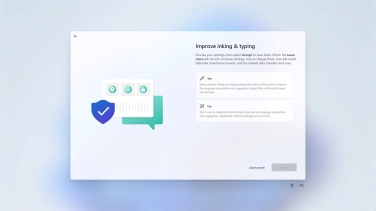
Click Accept.
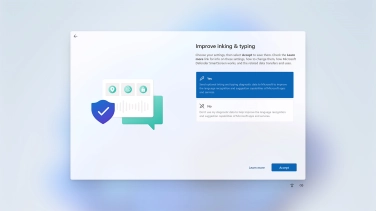
Click the required setting.
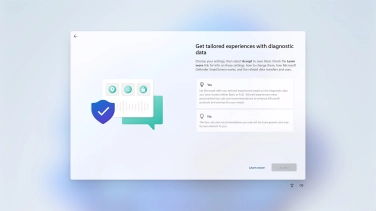
Click Accept.
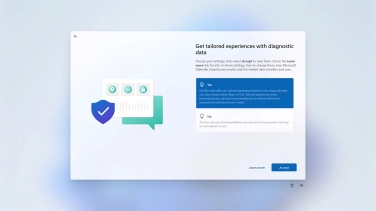
Click the required setting.
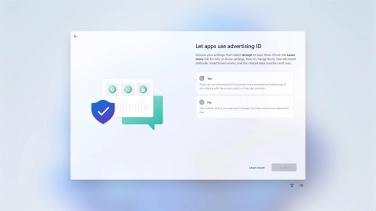
Click Accept.
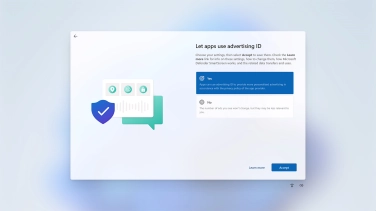
15. Choose the primary use of your laptop

Click the fields next to the required categories to receive customised tips and suggestions.
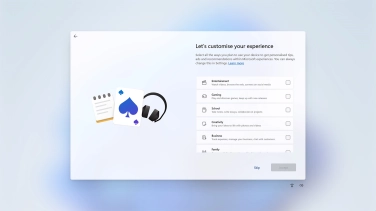
Click Accept.
16. Choose settings for backing up files

Follow the instructions on the screen if you don't want to back up your files to OneDrive or click Next.
17. Choose setting for use of Microsoft Office apps

Follow the instructions on the screen to subscribe to Microsoft Office or click No, thanks.
18. Choose setting for use of PC Game Pass

Follow the instructions on the screen to subscribe to PC Game Pass or click Skip for now to finish setting up your laptop.
Get information on...

Or choose...

Another device